Featured Product

Printing Files in Excel
May 4, 2020
How do you Print in Excel?
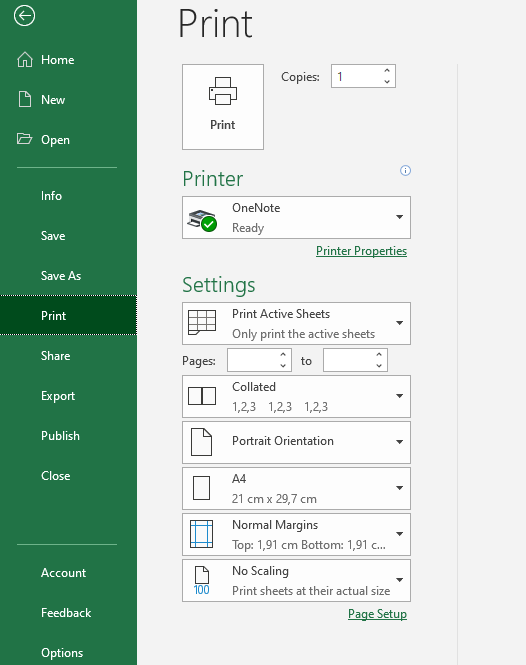
There are two main areas in Excel where printing is controlled. The backstage printing areas can be accessed using several keyboard shortcuts, but the most efficient of these is CTRL, P. It can also be accessed via the FILE menu, and ALT, F, P also goes to this area.
Here, the printing setup is controlled, including the:
- Number of copies
- Printer
- What will be printed, selection, active sheets or the workbook for example
- Collation
- Paper size and orientation (portrait or landscape)
- Margins and scaling
The PAGE SET UP dialog box can be accessed from the backstage area for printing as seen below:
The other main area where printing is controlled is in the PAGE LAYOUT ribbon. This can be accessed using the commands on the ribbon or using ALT, P, S, P:

The PAGE SETUP dialog box is where headers and footers can be added, deleted or edited. Gridlines can be shown or invisible, as can row and column headers. It is possible to set up so that a row or column (usually a header row or left most column) is printed out on each page. Page settings and margins can be accessed and adjusted. The print area can be specified, deleted or changed and page breaks can be adjusted

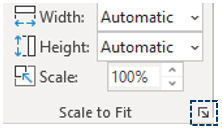
The other option to get to the Page Setup window is by clicking on the Page Layout ribbon, then going to the Scale to Fit ribbon and selecting the expansion arrow in the bottom right corner.
How to Print in Excel Using the Ribbon
As with most functions, Excel allows you to choose several routes to perform them. You can also choose the Page Layout ribbon to select your printing requirements.

Excel will print the entire worksheet by default, so you will need to make an adjustment to the print settings if this is something you do not require.
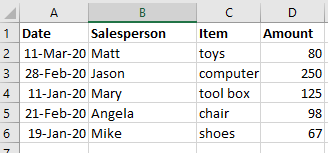
Below we have an example of sales data.